When you are creating a game-ready character, you do not always need to start from zero. As a character designer, your time is usually better spent on design decisions, proportions, personality, clothing, details, and final presentation – not rebuilding the same basic human body structure again and again.
This is where a good base mesh becomes extremely useful. A base mesh gives you a clean starting point for your character, allowing you to move faster from idea to production. Instead of spending the first hours or days creating basic anatomy, topology, or body proportions, you can begin with a ready-made structure and focus on turning it into a unique game character.
If you are serious about character design, purchasing quality base meshes can be a practical workflow decision. You are not buying a finished character that limits your creativity. You are buying time, structure, and flexibility. A good base mesh helps you start faster, test ideas sooner, and avoid many technical problems later in the process.
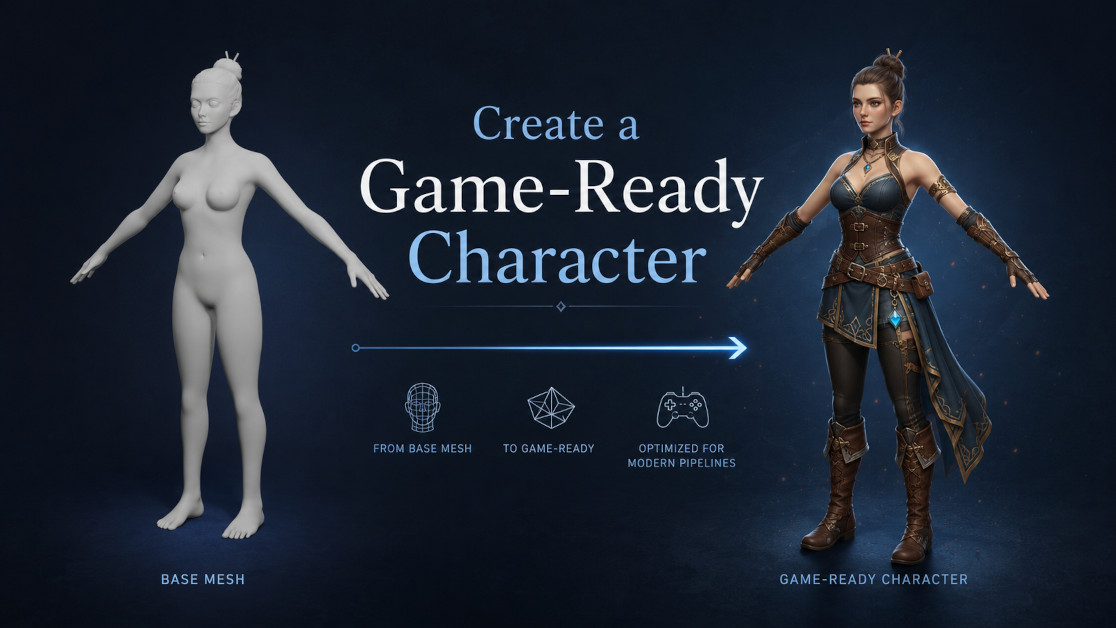
The goal is simple: start with a clean base mesh and gradually turn it into a polished, optimized, rigged, and usable game-ready character.
Start with a Clean Base Mesh
The first step is choosing the right base mesh for your project. This decision matters more than it may seem. A weak base mesh can slow down the entire workflow, while a clean one can make sculpting, editing, rigging, and exporting much easier.
Before you start shaping the character, think about what you actually need. Are you creating a realistic human character? A stylized hero? An anime-inspired avatar? A child character? A strong warrior? A heavier body type? A background NPC? Each project has different needs, and the base mesh should support the direction you want to take.
A good base mesh should have clean topology, readable proportions, and practical geometry. Quad-based topology is especially useful because it is easier to sculpt, subdivide, edit, and deform. If the topology is messy from the beginning, you may run into problems later when you pose the character, add clothing, or test animations.
You should also check whether the mesh is rigged, UV unwrapped, subdivision-ready, and available in the file formats you need. For a game-ready workflow, formats like FBX, GLB, BLEND, OBJ, and DAE can be important depending on whether you work in Blender, Unity, Unreal Engine, or another 3D application.
If you are planning to buy a base mesh pack, look beyond the preview image. Check the technical details. Look at the polygon count, rig support, UV mapping, included body types, and whether the model is suitable for sculpting, posing, or animation. A base mesh that looks nice in a render is not always the best production asset. What matters is whether it helps you move efficiently toward a finished character.

Realistic Human Body Base Mesh Pack – 10 Rigged 3D Models + 76 Sound Effects
Rigged base meshes can be especially useful because they allow you to test poses early. This is important for character designers because a model can look good in a neutral pose but lose its appeal when placed in an action pose, idle stance, attack pose, or walking pose. Testing the silhouette early helps you avoid design problems before you invest too much time in details.
A-pose and T-pose options are also worth considering. T-pose is often useful for certain rigging and export workflows, while A-pose can feel more natural for sculpting and shoulder deformation. If your base mesh supports both, you have more flexibility during production.
At this stage, your goal is not to find a base mesh that already looks like the final character. Your goal is to find a clean, flexible starting point that gives you enough technical quality and creative freedom to build on.
Shape, Detail, and Prepare the Character
Once you have selected your base mesh, the real character design work begins. This is where you transform a general body into someone specific – a hero, villain, NPC, warrior, student, creature, stylized mascot, or any other character your project requires.
Start with the large shapes first. Adjust the proportions, posture, body mass, silhouette, and overall character identity. Do not rush into small details too early. A strong character starts with a readable shape. If the body shape is weak, no amount of surface detail will fully fix it later.
For a realistic character, you may focus on believable anatomy, natural proportions, and subtle body variation. For a stylized character, you may exaggerate the head, hands, legs, torso, or facial features. For an anime-style character, you may refine the body into cleaner, more elegant forms with simplified anatomy and expressive proportions.
This is one of the biggest advantages of working from a base mesh. You are not stuck fighting with the basic structure. You can immediately begin making design choices. You can push proportions, test variations, duplicate versions, and explore different ideas much faster.
After the main proportions are working, you can move into sculpting and detail work. Depending on your style, this may include muscle definition, facial structure, hands, feet, wrinkles, stylized forms, or anatomy corrections. The key is to add details that support the final use of the character. A cinematic hero, a mobile game NPC, and a background enemy do not need the same level of detail.

Clothing and accessories are usually the next major step. You can use the base mesh as the body underneath armor, uniforms, fantasy outfits, sci-fi suits, casual clothes, or stylized costumes. In some workflows, you may duplicate parts of the body mesh to create clothing pieces. In others, you may model clothing separately over the body.
While designing clothing, always think about movement. A beautiful outfit can become a problem if it does not deform well, clips heavily through the body, or becomes too complex for the intended engine. Game-ready design is not only about appearance. It is also about usability.
Topology cleanup is also important at this stage. If you have made large changes to the mesh, check the areas that will bend during animation: shoulders, elbows, knees, hips, neck, wrists, ankles, and face. These areas need to deform cleanly. If they are ignored, the character may look fine in Blender but fail during animation or gameplay testing.
UVs and materials should also be prepared carefully. A game-ready character needs a clean texturing workflow. Depending on the project, you may use realistic PBR materials, stylized hand-painted textures, simple prototype colors, or custom shaders. Clean UVs help you avoid texture stretching, messy baking, and material issues later.
Optimization is another part of turning your design into a usable game asset. This does not always mean making the character extremely low-poly. It means making the model appropriate for its purpose. A main playable character can usually use more detail than a background NPC. A prototype model can stay lighter and simpler. A mobile game character may need stricter optimization than a PC or console character.
If you bought a pack with multiple base meshes, this is also a good time to create variations. Different body types, ages, styles, and proportions can help you build a more complete character library. Instead of designing every character from scratch, you can use several base meshes as starting points for different roles inside your game.
Rig, Test, and Export the Game-Ready Character
After the character design is shaped, detailed, cleaned, and prepared, the next step is making sure it can actually work in production. A game-ready character is not finished just because it looks good in a still image. It needs to move, deform, export correctly, and function inside the target engine or animation pipeline.
Rigging is the foundation of this stage. If your base mesh already includes a rig, you may be able to save a lot of time. Even if you need to adjust the rig, having a working structure can help you test the character much earlier. If the character needs more advanced animation, you may need IK/FK controls, facial controls, deformation bones, or shape keys.
For character designers, rigging is not just a technical step. It is also a design test. Once the character can move, you can see whether the proportions still work. You can check if the silhouette is strong in action poses. You can test whether the clothing supports movement. You can also see whether the character has personality beyond the neutral pose.
IK/FK controls are especially useful for animation-ready characters. IK helps keep hands or feet locked in place, while FK gives smooth rotational control for natural movement. Facial rigs and shape keys are also valuable if the character needs expressions, dialogue, emotional poses, or presentation renders.
Testing should be done before final export. Pose the character in several common positions: standing, walking, crouching, attacking, turning, reaching, and idle poses. Look carefully at deformation areas. Shoulders, elbows, knees, hips, and neck are common problem zones. If the mesh collapses, stretches badly, or clips too much, fix it before moving forward.
If the character will be used in a game, animation tests are even more important. A model that works in a static pose may show problems during movement. Test simple animations such as idle, walk, run, jump, attack, or interaction poses. This helps you catch problems before the character is imported into Unity, Unreal Engine, or another real-time environment.
Sound effects can also improve the final result, especially when presenting animations or prototyping gameplay. Footsteps, effort sounds, attacks, breathing, impacts, and idle sounds can make even early character tests feel more alive. If you are building a character asset library, having matching sound effects can make your workflow feel more complete.
Before exporting, check the technical details: scale, orientation, origin point, naming, materials, textures, rig structure, and file format. FBX is commonly used for rigged characters and game engines. GLB or GLTF can be useful for modern real-time workflows and previews. BLEND files keep the original Blender setup, while OBJ, DAE, STL, PLY, ABC, and other formats may be useful for specific software or production needs.
The final goal is a character that is not only visually finished but also practical to use. A game-ready character should be clean, organized, optimized, rigged, tested, and easy to import into the next stage of production.
For a character designer, using purchased base meshes is not a shortcut that removes creativity. It is a smarter starting point. You still make the important artistic choices: shape, style, personality, clothing, detail, movement, and presentation. The base mesh simply helps you reach those creative decisions faster.
By starting with a clean base mesh, shaping it into a unique design, preparing it for animation, and exporting it properly, you can move from an initial idea to a game-ready character with much less friction. That is the real value of a strong base mesh workflow: it gives you more time to design and fewer technical problems to fight along the way.

Want to Turn Your 3D Skills into Income? Read These Next